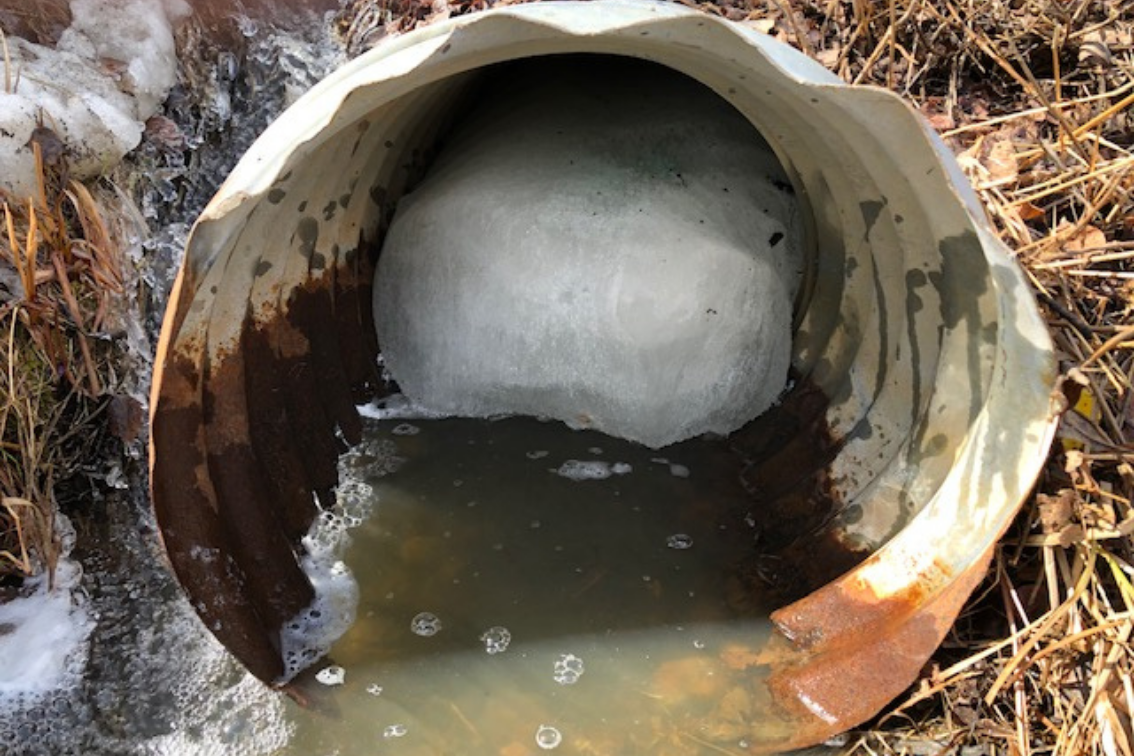
Quick Culvert Ice Thawing Guide for a Trouble-Free Spring
Winter’s end can bring challenges with frozen culverts, especially after snowplows push banks of snow, filling ditches. Spring’s fluctuating temperatures can lead to water running and freezing along these ditches. Follow this quick guide to efficiently thaw ice from your culvert, preventing potential issues.
Clearing Snow and Ice
Your first crucial task is to clear snow and ice from both ends of the culvert. This may involve chopping and shoveling, creating openings for sunlight and warmth to penetrate and thaw the culvert ends.
Over the course of several days, you’ll notice a transformation from snow-covered landscapes to signs of bare lawns and small ponds forming.
Identifying the Problem
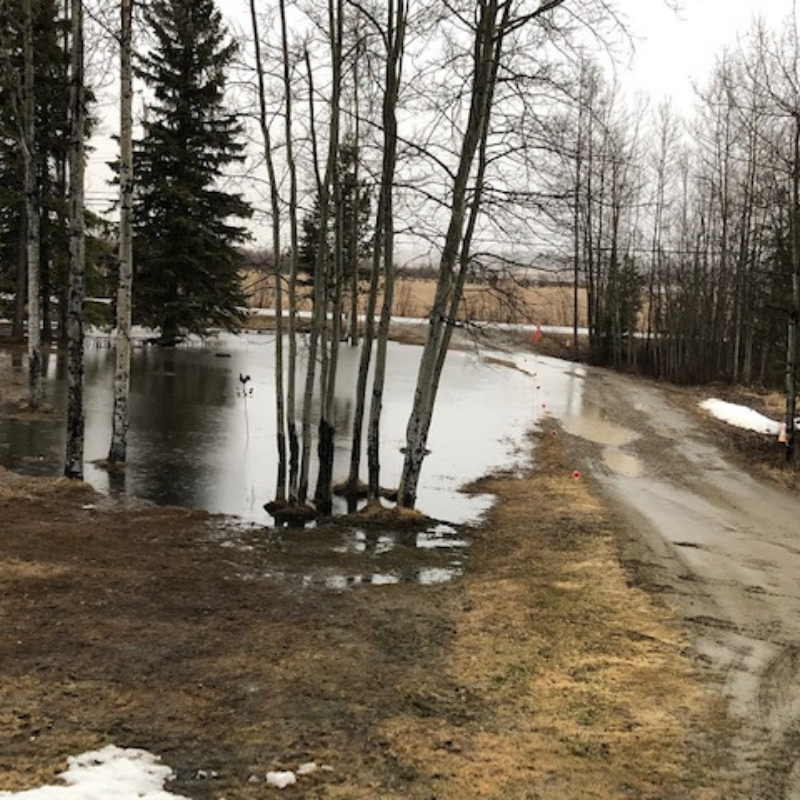
If your culvert is blocked, water may divert, pooling in unwanted areas like flooded lawns and washing across driveways. Timely action is crucial to avoid these issues.

Thawing Solutions
Heat Tape (Not Recommended)
Some suggest using heat tape through the culvert, but this requires an electrical outlet and may not effectively thaw frozen pipes. This solution involves preplanning and is not suitable for immediate problems.
Portable Welder (Not Practical)
Another idea is to use a portable welder to heat the metal culvert. However, this solution is not practical for many due to the equipment required and safety considerations.
Plastic Pipe Method (Requires Preplanning)
Running a small plastic pipe through the culvert, capped at both ends, is another option. This pipe stays empty during winter and is opened in spring to facilitate the melting process. However, this requires fall preparation and does not address immediate issues.
High-Pressure Hot Water or Steam Blasting (Contractor Solution)
Hiring a contractor with a truck specializing in high-pressure hot water or steam blasting can effectively melt through the ice. This professional solution is suitable for those willing to invest in external assistance.
Simple DIY Ice Melt Solution
For a DIY and effective solution, consider the following steps:
- Clearing Outlet End: Remove ice using an axe from the outlet end.
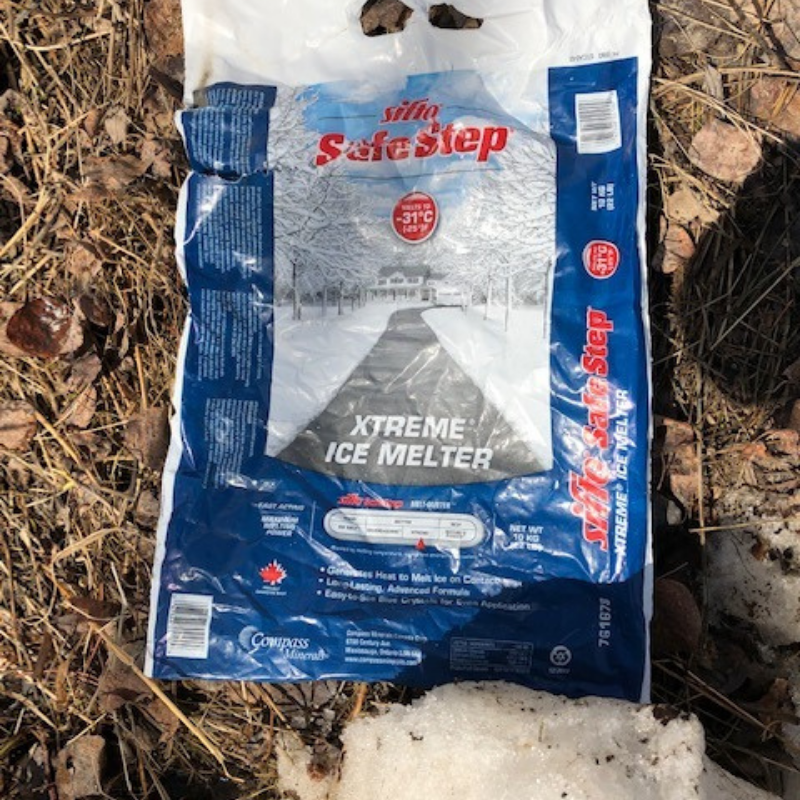
- Ice Melt Application: Pour bags of ice melt (calcium chloride) directly into the icy water above the inlet end.
- Wait for Results: Allow the ice melt to sink and settle. Results may appear within hours, with water flowing and ice chunks breaking free.
- Repeat if Necessary: Depending on the severity, additional bags of ice melt may be required.
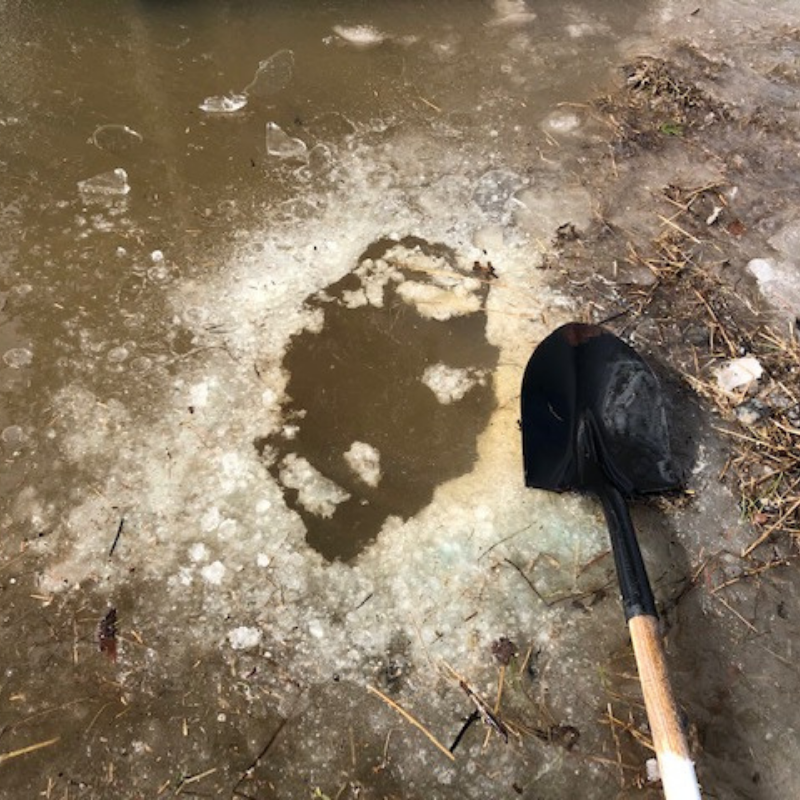
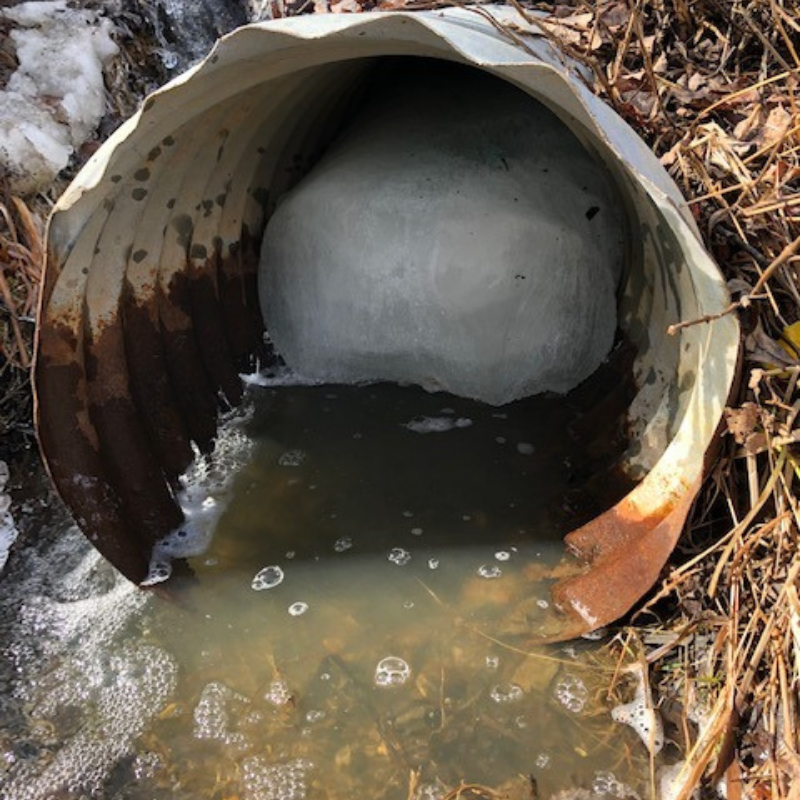
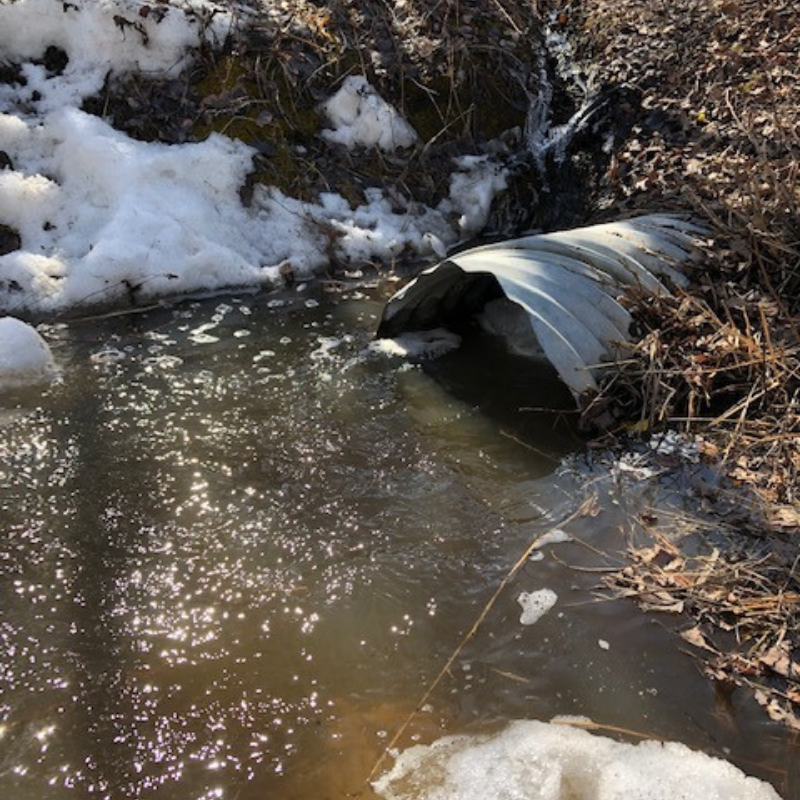
Wow! Two hours later the water was flowing quickly. Huge chunks of ice came out. Success! The pond on my flooded lawn and driveway very quickly receded within a few hours.
Success Story
In my own experience, pouring three bags of ice melt led to significant thawing within two hours, resolving issues with a flooded lawn and driveway.
2023 Update
This year I was ready! Just as water was beginning to pool on my lawn, I chopped and dug a hole in the snow right above each end of the culvert. I dug down until I reached the metal edge and it was solid ice and I couldn’t go any further. The inlet end was buried in ice and water.
I poured one bag of ice melt salt at each end. (44 lbs / 20 kg). The daily temperature was just hovering around the freezing point. It took a full 2 days to melt down to get a little water running through and see the result. The next day the water was gone off my lawn. The trickle of water still freezes overnight and thaws during the day but has found its path to the ditch and through the culvert.
This easy trick works. I’m thrilled that I don’t have to deal with slush and water washing across my driveway every spring.

